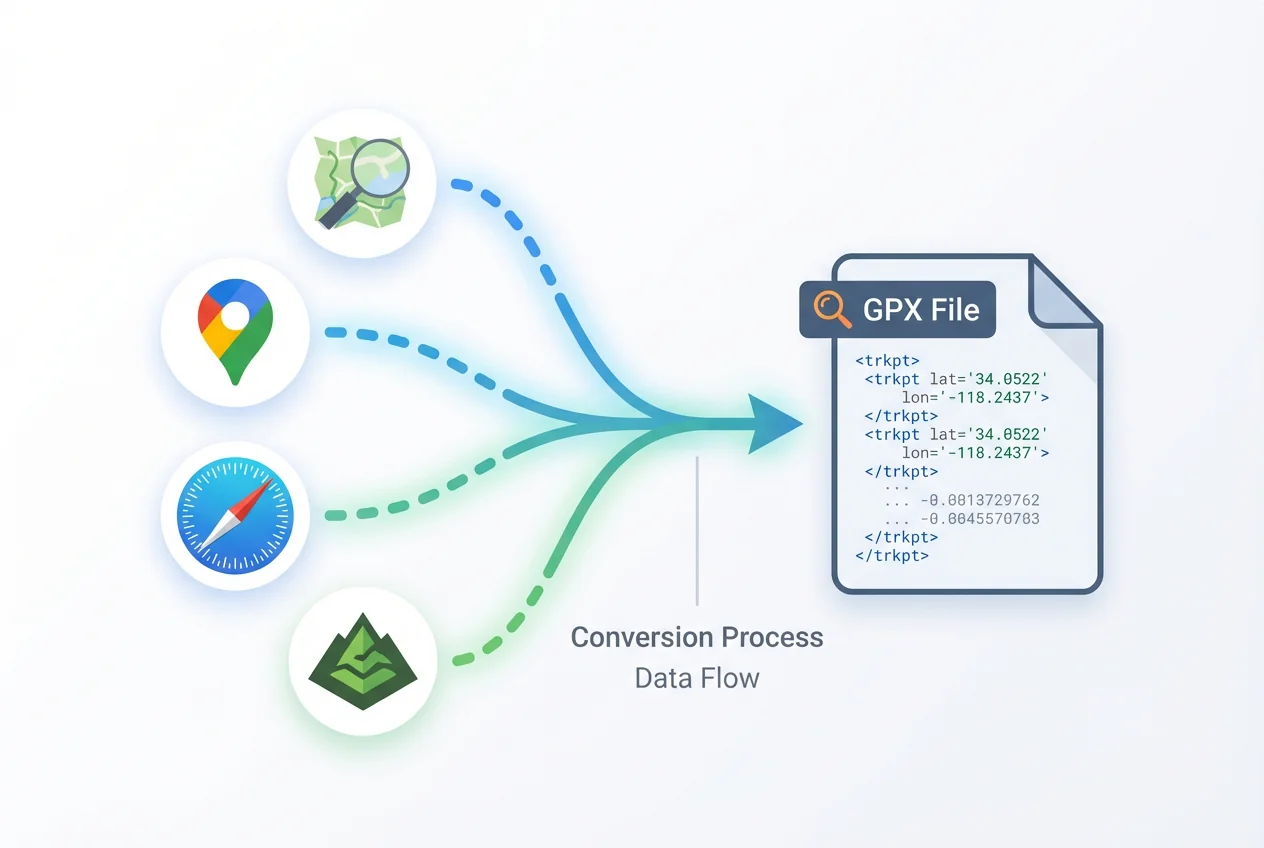
Yes, you can import GPX files into Google Maps! Whether you've downloaded a hiking trail, recorded a bike route, or received a GPX file from a friend, this guide will show you exactly how to view GPX in Google Maps. We'll cover two simple methods to get your GPS tracks onto Google's powerful mapping platform.
What You'll Need Before Starting
Before we begin the import process, make sure you have the following:
- A Google account (for using Google My Maps)
- Access to a computer (Google My Maps works best on desktop)
- Your GPX file ready on your device
Important Note: While you can view GPX tracks on Google Maps, it's essential to understand that Google Maps doesn't convert these into navigable turn-by-turn routes automatically. You'll see your track visualized on the map, but not get voice directions.
Method 1: Using Google My Maps (Web)
Google My Maps is Google's custom map creation tool that allows you to import GPX files directly. Here's how to do it:
Step 1: Access Google My Maps
Go to Google My Maps in your web browser and sign in with your Google account.
Step 2: Create a New Map
Click the red "Create a New Map" button or the "+" icon. This will open a blank map canvas where you can add your GPX data.
Step 3: Import Your GPX File
Look for the layer panel on the left side of the screen. Under "Untitled layer", click "Import". A dialog box will appear allowing you to upload files from your computer.
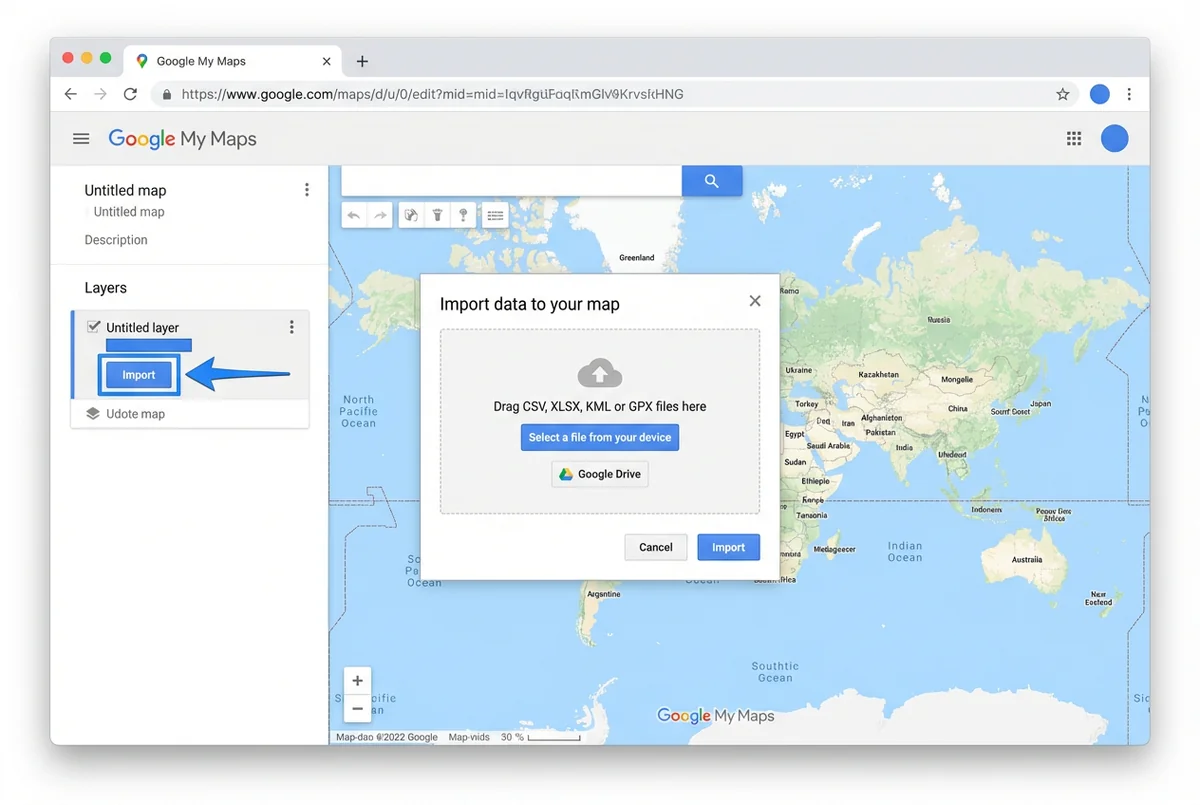
Screenshot: The import button in Google My Maps
Step 4: Select and Upload Your GPX File
Click "Select a file from your computer" and navigate to where your GPX file is stored. Select the file and click "Open". Google My Maps supports GPX file formats directly, so no conversion is needed.
Step 5: Configure Your Import (Optional)
Google My Maps will ask you which data to use for naming your places. You can choose from available attributes in your GPX file or leave the default selection. Click "Continue" when ready.
Step 6: View Your Imported GPX Track
After importing, your GPX track will appear on the map. Google My Maps will automatically zoom to fit the entire route. You can now see your GPX data displayed on Google Maps!
Step 7: Customize and Share (Optional)
You can now customize your map by:
- Changing the track color by clicking on the paint bucket icon
- Adding place markers along your route
- Sharing your map by clicking the "Share" button at the top
Method 2: Using GPX2Maps (Easier Method)
If you want a faster, simpler way to import GPX into Google Maps without navigating through multiple menus, our GPX2Maps tool makes the process much more straightforward:
Step 1: Visit GPX2Maps
Go to GPX2Maps.com in your web browser. No account creation or sign-in is required.
Step 2: Upload Your GPX File
In the upload area at the top of the page, either drag and drop your GPX file or click to select it from your computer.
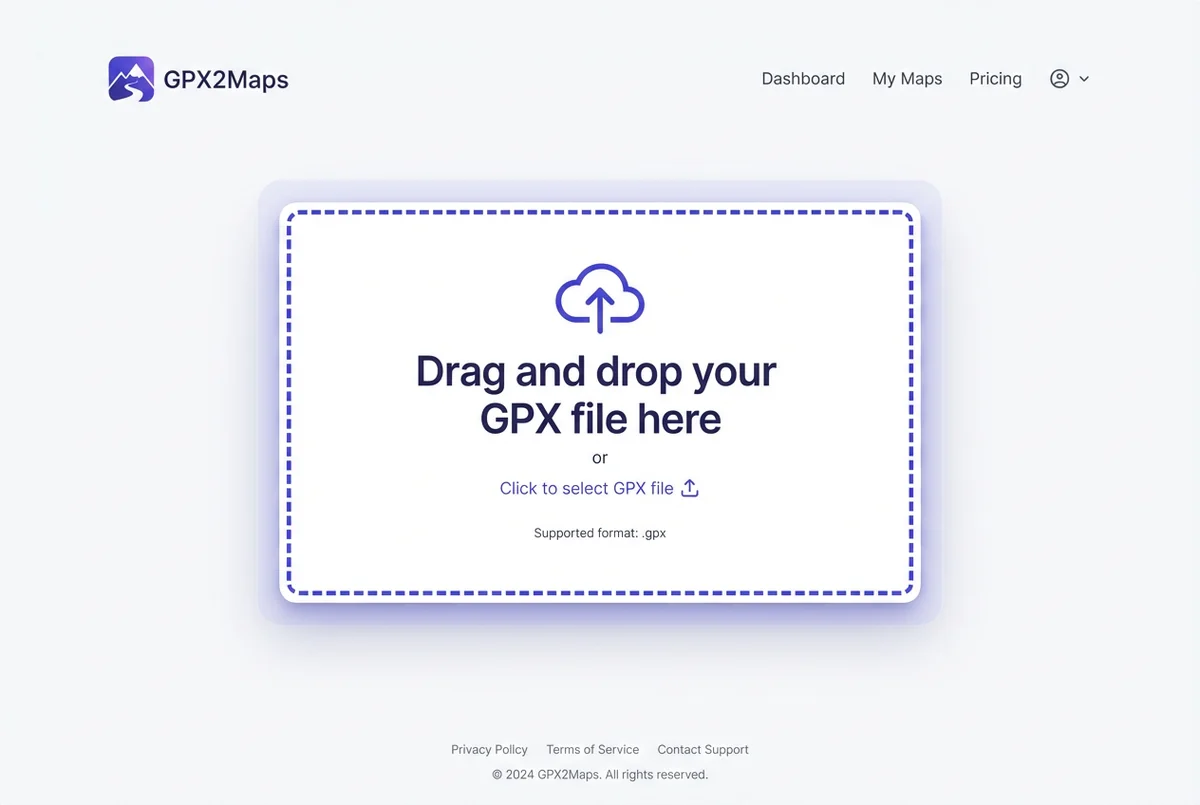
Screenshot: The simple upload interface on GPX2Maps
Step 3: View Your Route Instantly
After uploading, the GPX2Maps tool instantly processes your file and displays your route on a map. No need to navigate through multiple menus or configure import settings!
Step 4: Open in Google Maps
Click the "Open in Google Maps" button to view your route in the full Google Maps interface. This works on both desktop and mobile devices.
The GPX2Maps method saves you significant time compared to the Google My Maps approach and doesn't require a Google account. It's particularly useful for quickly viewing GPX tracks on Google Maps without dealing with the full map creation process.
Troubleshooting Common GPX Import Issues
GPX File Won't Import
If your GPX file won't import, it might be too large or not properly formatted. Try these solutions:
- Use a GPX validator tool to check for formatting errors
- Split large GPX files into smaller segments (Google My Maps has a size limit)
- Try the direct GPX2Maps approach which handles a wider variety of GPX formats
Mobile App Compatibility
The Google Maps mobile app doesn't directly import GPX files. For mobile viewing:
- Complete the import on desktop first using either method
- On mobile, use the link from GPX2Maps or access your saved My Maps
- Make sure you're signed into the same Google account if using My Maps
Missing Waypoints or Track Data
If your imported GPX is missing data:
- Check if your GPX file contains both tracks and waypoints (some imports may prioritize one type)
- Try importing as a different layer in My Maps
- Use GPX2Maps which preserves most track details during conversion
Need the reverse? Google Maps to GPX
GPX2Maps is bidirectional. If you already have a Google Maps route and want a .gpx for your Garmin, Wahoo or Strava, our Google Maps → GPX converter does exactly that. One tool, both directions.
Frequently Asked Questions About GPX in Google Maps
Can I get turn-by-turn directions from an imported GPX file?
Unfortunately, no. When you import a GPX file into Google Maps (through either method), it only displays the track visually. Google Maps doesn't convert this into navigable turn-by-turn directions. You can see your route on the map, but won't get automatic voice guidance following the exact GPX path.
Can I edit my GPX route after importing it?
In Google My Maps, you can make limited edits to the style and appearance of your imported GPX track, but you cannot easily modify the actual path of the track. If you need to edit the route itself, it's better to use a dedicated GPX editor before importing.
Can I use imported GPX files offline in Google Maps?
Yes, but with limitations. If you've imported your GPX using My Maps, you can download that area for offline use in the Google Maps app. However, you'll need to have viewed the My Map while online first, and have the same Google account signed in on your mobile device.
Start Using Your GPX Files in Google Maps Today
Now you know exactly how to import GPX in Google Maps using two different methods. While Google My Maps offers more customization options, GPX2Maps provides a much faster and more straightforward experience.
Remember that regardless of which method you choose, the GPX file will be displayed visually on the map but won't provide automatic turn-by-turn navigation. You'll be able to see your track and follow it manually while enjoying all the other benefits of the Google Maps platform.
Ready to see your own GPX tracks on Google Maps? Give it a try with our free GPX2Maps converter - no account needed and it takes just seconds!
Convert Your GPX File Now →