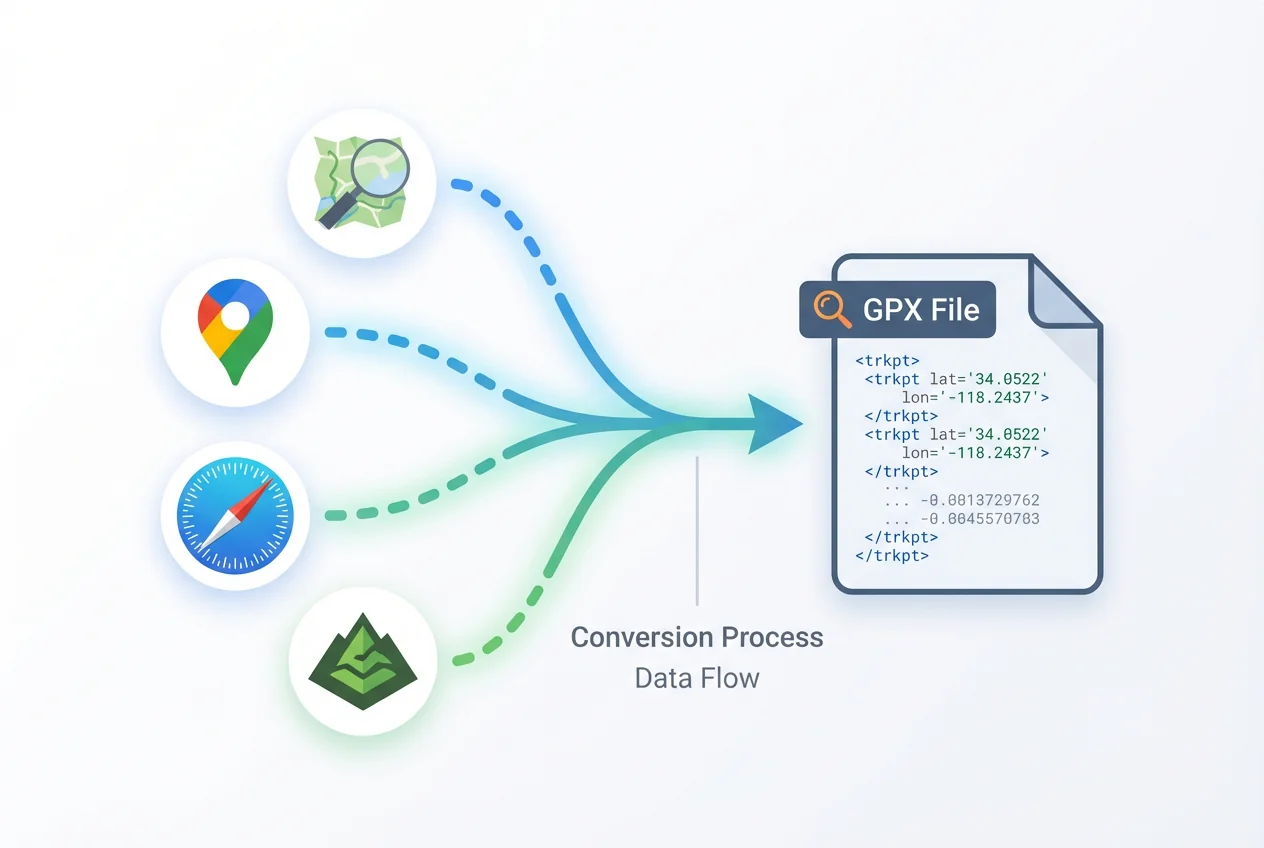
Have a GPX track from your GPS device and want to see it on Google Maps? You're in the right place. In this comprehensive guide, we'll show you exactly how to convert GPX to Google Maps, step by step. Whether you're a hiker with a trail, a cyclist with a route, or an adventure enthusiast with GPS data, these methods will help you visualize your GPX files on the world's most popular mapping platform.
There are multiple ways to convert GPX to Google Maps—some automatic and some manual—and we'll cover all the approaches so you can choose the one that works best for your specific needs.
Why Convert GPX to Google Maps?
Before diving into the conversion methods, let's quickly explore why you might want to convert GPX to Google Maps in the first place:
- Familiar Interface: Google Maps is used by billions of people worldwide, making it an interface you likely already know how to navigate.
- Rich Map Data: Google Maps offers detailed satellite imagery, street view, points of interest, and regularly updated maps.
- Easy Sharing: You can easily share your routes with others, whether they're joining you on an adventure or just want to see where you've been.
- Mobile Access: Access your routes on-the-go through the Google Maps mobile app, with offline capabilities for areas with poor coverage.
- Integration with Other Google Services: Seamless connections with other Google platforms like Google Earth, Google Photos, and more.
Now that we understand the benefits, let's explore the various methods to convert GPX to Google Maps.
Method 1: Using GPX2Maps (Quick Online Converter)
The simplest and fastest way to convert GPX to Google Maps is using our free online converter, GPX2Maps. This method requires no technical knowledge, no account creation, and works in just a few clicks.
Step-by-Step Instructions:
1. Visit the GPX2Maps Website
Visit the GPX2Maps Website: Go to our GPX2Maps converter.
2. Upload Your GPX File
Upload Your GPX File: Drag and drop your GPX file onto the upload area, or click to select the file from your device.
3. Automatic Processing
Automatic Processing: The converter will automatically process your GPX file and extract the route data.
4. View Your Route
View Your Route: Once processed, you'll see your route displayed on an interactive map.
5. Open in Google Maps
Open in Google Maps: Click the "Open in Google Maps" button to view your route in the full Google Maps interface.
The entire process takes less than a minute, and you'll have your GPX route visible in Google Maps immediately. This method is ideal for quickly visualizing GPX tracks without any manual conversion steps.
Save time and convert your GPX file to Google Maps in seconds with our free online tool.
Try GPX2Maps Converter Now →Method 2: Using Google My Maps Manually
If you prefer to use Google's native tools or want more control over how your GPX data is displayed, you can use Google My Maps to manually import your GPX files. This method requires a Google account but provides additional customization options.
Step-by-Step Instructions:
1. Access Google My Maps
Access Google My Maps: Go to Google My Maps and sign in with your Google account.
2. Create a New Map
Create a New Map: Click on "Create a New Map" to start a blank map project.
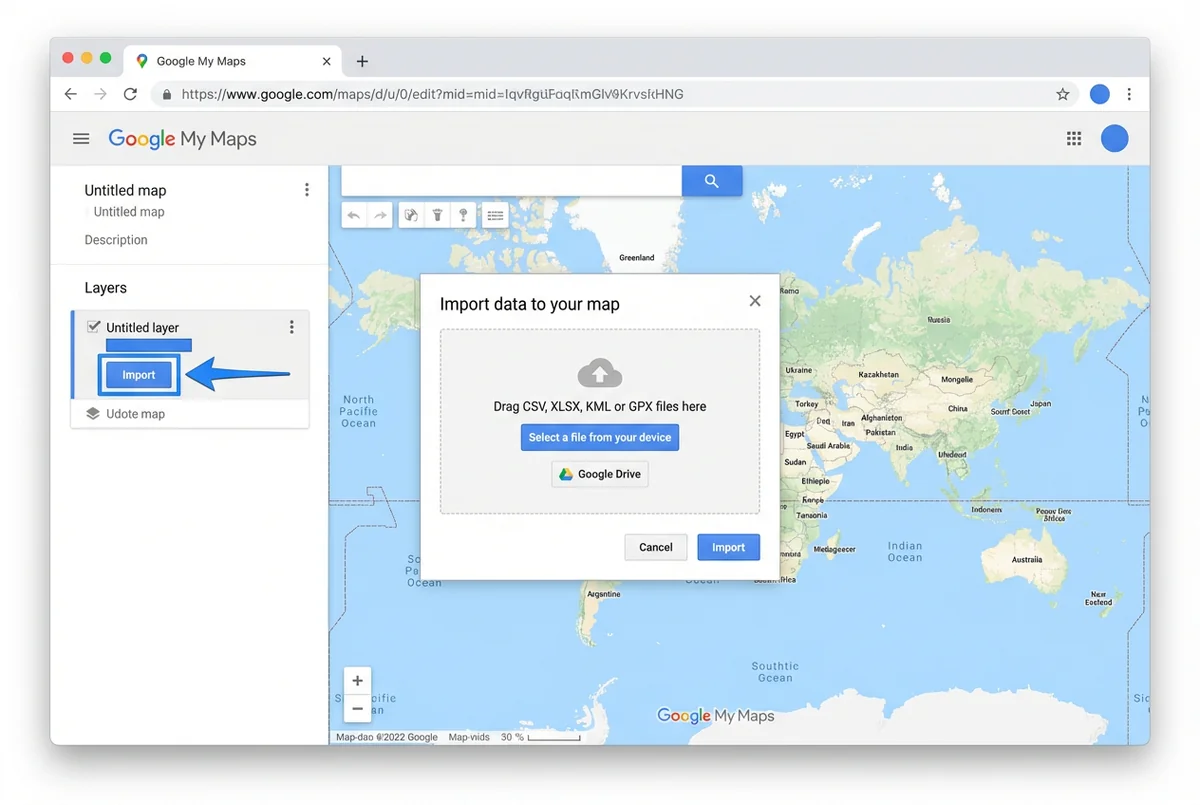
3. Import Your GPX File
Import Your GPX File: Click on "Import" under the first layer (usually called "Untitled layer").
4. Upload GPX File
Upload GPX File: Select your GPX file from your device and click "Select."
5. Choose How to Title Your Placemarks
Choose How to Title Your Placemarks: Google My Maps will ask how you want to name your placemarks. You can choose any field or select "I'll title them myself."
6. Configure Display Options
Configure Display Options: Once imported, you can customize how your GPX data appears by changing colors, icons, and layer properties.
This method takes a bit more time but gives you more flexibility in how your GPX data is presented. You can also add additional information, photos, and custom icons to your map.
Limitations of Google My Maps:
While Google My Maps does allow you to import GPX files, there are some important limitations to be aware of:
- No Turn-by-Turn Navigation: Unlike regular Google Maps routes, imported GPX tracks in My Maps won't provide turn-by-turn directions.
- File Size Limitations: Google My Maps has a 5MB file size limit for imports, which might be problematic for very detailed GPX tracks.
- Maximum of 10 Layers: You can only have up to 10 layers per map, which may be limiting for complex route collections.
- Requires Google Account: You must have a Google account to create and save custom maps.
Method 3: Converting GPX to KML (Alternative Route)
Since Google's platforms primarily use KML (Keyhole Markup Language) for geographic data, another approach is to convert your GPX file to KML format first, and then import it into Google Maps or Google Earth. This method can be useful for specific scenarios or if you're experiencing issues with direct GPX imports.
Step-by-Step Instructions:
1. Use an Online Converter
Use an Online Converter: Tools like GPS Visualizer or GPS Babel can convert GPX files to KML format.
2. Download the KML File
Download the KML File: After conversion, download the resulting KML file to your device.
3. Import to Google My Maps
Import to Google My Maps: Follow the same steps as Method 2, but upload the KML file instead of the GPX file.
4. Alternative: Use Google Earth
Alternative: Use Google Earth: KML files can also be opened directly in Google Earth for a different visualization experience.
This approach is particularly useful if you want to use your geographic data across multiple Google platforms (Maps, Earth, etc.) or if you need to make edits to the data format.
Comparison of GPX to Google Maps Conversion Methods
To help you choose the right approach for your needs, here's a comparison of the three methods we've covered:
| Feature | GPX2Maps | Google My Maps | GPX to KML |
|---|---|---|---|
| Ease of Use | Easiest (automated) | Easy (manual steps) | Advanced (multiple steps) |
| Time Required | Under 1 minute | 3-5 minutes | 5-10 minutes |
| Account Required | No | Yes (Google account) | Depends on converter |
| Customization | Basic | Extensive | Extensive |
| Best For | Quick viewing & sharing | Custom maps with multiple layers | Cross-platform compatibility |
| Limitations | Less customization | 5MB file size limit | More technical complexity |
As you can see, each method has its advantages and limitations. GPX2Maps is ideal for quick and straightforward conversions, while Google My Maps offers more customization, and the GPX to KML approach provides the most flexibility for advanced users.
Common Mistakes to Avoid When Converting GPX to Google Maps
To ensure a smooth conversion process, watch out for these common pitfalls:
- Forgetting to Log Into Google: When using Google My Maps, make sure you're logged into your Google account first.
- GPX File Too Large: Google My Maps has a 5MB file size limit. If your GPX file exceeds this, try simplifying the track or splitting it into multiple files.
- Expecting Turn-by-Turn Navigation: Neither Google My Maps nor imported GPX routes will provide automatic turn-by-turn navigation in Google Maps. They're visual references only.
- Corrupted GPX Files: Make sure your GPX file is valid and complete. Some GPS devices or apps may create incomplete or non-standard GPX files.
- Not Checking Privacy Settings: If you're sharing a map with others, verify the sharing settings in Google My Maps to ensure the right people have access.
- Overlooking Mobile Compatibility: While custom maps can be viewed on mobile devices, the experience may differ from the desktop version.
Being aware of these common issues can save you time and frustration when converting GPX to Google Maps.
Advanced Tips for GPX to Google Maps Conversion
For users who want to get the most out of their GPX to Google Maps conversion, here are some advanced tips:
- Use Color Coding: In Google My Maps, assign different colors to different segments of your route to indicate elevation changes, difficulty levels, or different days of a multi-day journey.
- Add Custom Waypoints: Enhance your map by adding custom waypoints for points of interest, rest stops, or photo opportunities along your route.
- Incorporate Photos: Google My Maps allows you to add photos to points on your map, creating a visual story of your journey.
- Create Elevation Profiles: Some third-party tools can generate elevation profiles from your GPX data, which you can reference alongside your Google Maps visualization.
- Download Maps for Offline Use: After viewing your route on Google Maps, you can download that area for offline use if you'll be traveling without reliable internet access.
- Use Layers Strategically: Organize complex trips by placing different aspects (accommodation, activities, transportation) on separate layers in Google My Maps.
These advanced techniques can transform a simple GPX route into a rich, interactive map that enhances your planning and navigation experience.
Need the reverse? Google Maps to GPX
GPX2Maps is bidirectional. If you have a Google Maps route and want it as a .gpx file for Garmin, Wahoo, Strava or any GPS device, our Google Maps → GPX converter does exactly that. One tool, both directions.
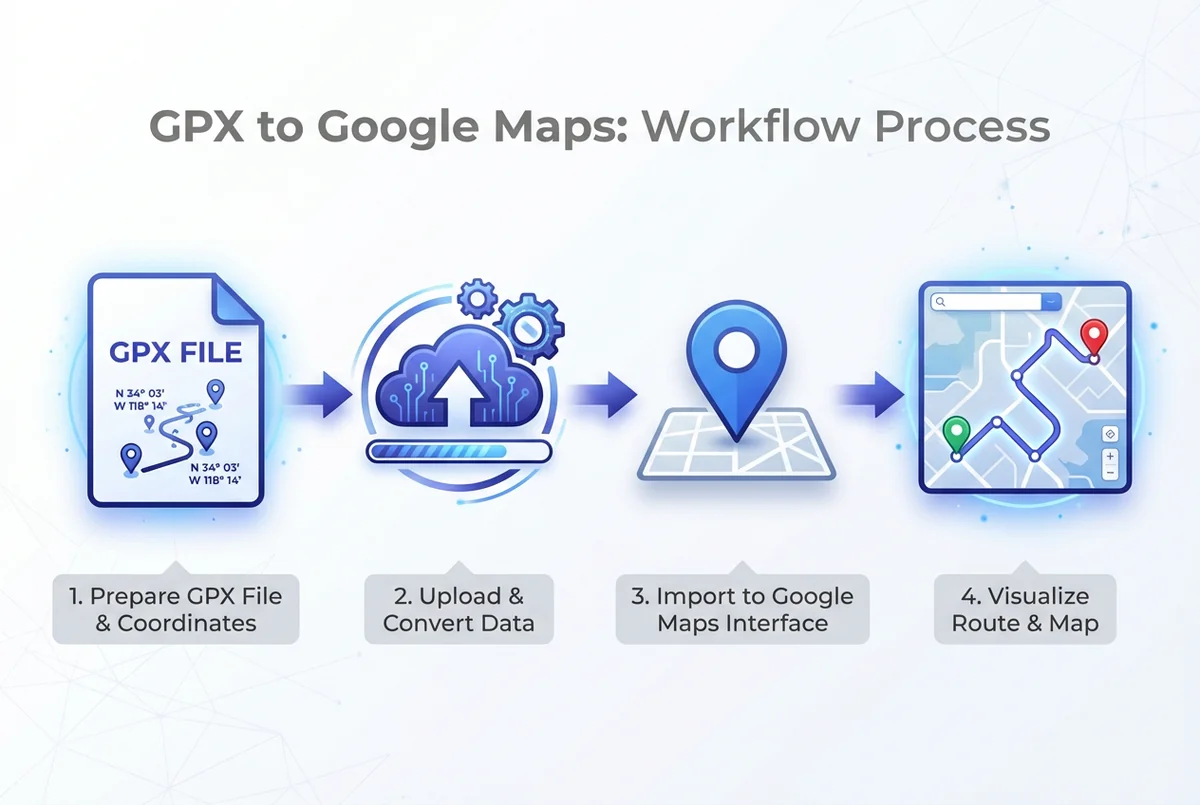
Start Converting GPX to Google Maps Today
Converting GPX to Google Maps is now easier than ever with tools like GPX2Maps. Whether you choose the quick automated approach, the customizable Google My Maps method, or the flexible GPX to KML conversion, you can bring your GPS tracks to life on Google's powerful mapping platform.
Remember that while Google Maps provides excellent visualization of GPX data, imported tracks won't automatically provide turn-by-turn navigation. However, the visual reference can still be invaluable for planning and orienting yourself during outdoor adventures.
For the simplest, fastest way to convert GPX to Google Maps, we recommend using our free GPX2Maps converter. Just upload your file, and in seconds you'll have an interactive map ready to use for your next adventure.